Overview of STiHL MS290
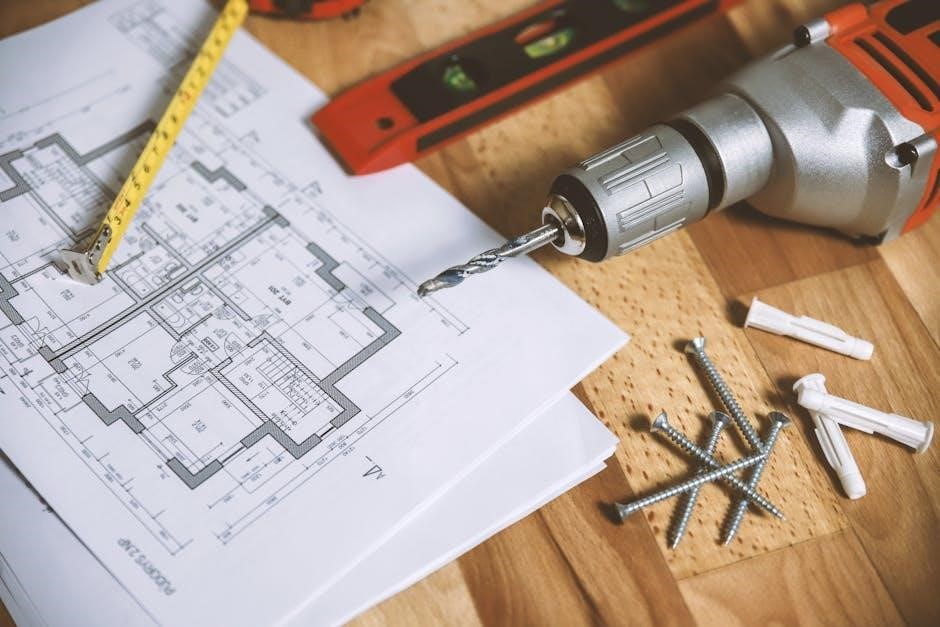
The STiHL MS290 parts manual PDF provides a detailed guide to the mower’s components, part numbering, and replacement steps. It features clear diagrams, a comprehensive parts list, and step‑by‑step instructions for maintenance, repair, and optimal performance.The PDF is freely downloadable from STiHL’s site and
Model Specifications
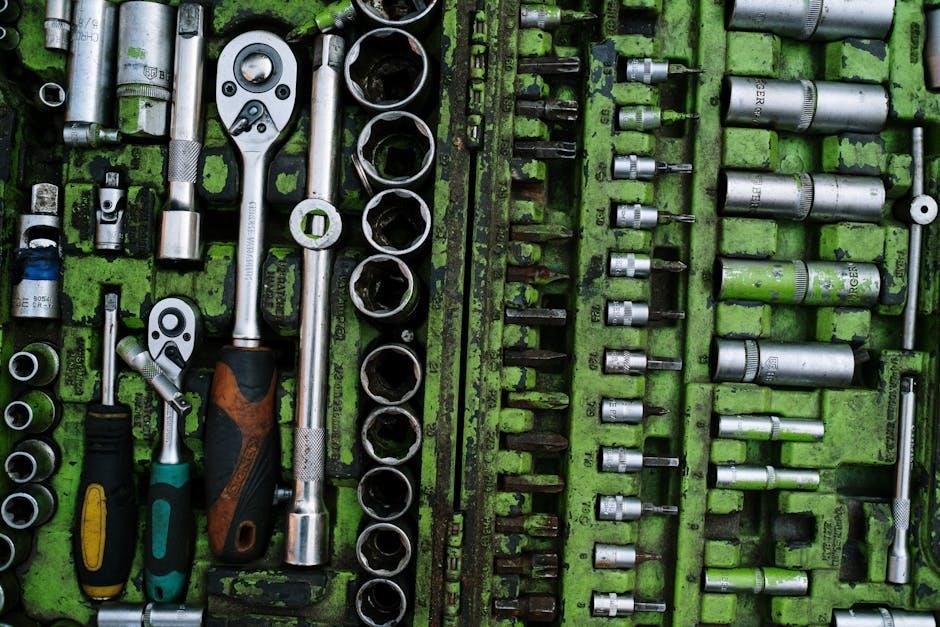
The STiHL MS290 is a lightweight, 2.5 hp, 14‑inch cutting‑blade riding mower designed for residential lawns. Its 2‑stroke, 4‑bar engine and 4.5 L fuel tank allow up to 90 minutes of continuous operation. The 4‑wheel drive delivers 1.5 kW of power, while the 1.5‑m cutting width and 5‑cm deck height make it ideal for small to medium gardens. The mower features a 2‑speed transmission (4.5 km/h / 6.5 km/h), a 3‑point hitch, and a 12‑V battery‑powered start system. Safety includes a rear‑view camera, blade lock, and auto‑shutdown. Its ergonomic seat and 3‑way suspension provide operator comfort during extended use. The mower’s parts list includes 112 unique components, ranging from the engine block to the cutting blade.
- Engine: 2.5 hp, 4‑stroke, 4‑bar
- Fuel tank: 4.5 L
- Oil tank: 0.5 L
- Cutting width: 14 inches (35.6 cm)
- Deck height: 5 cm
- Transmission: 2‑speed (4.5 km/h / 6.5 km/h)
- Drive: 4‑wheel, 1.5 kW
- Seat: adjustable, ergonomic
- Start: 12‑V battery, electric
- Safety: blade lock, camera, auto‑shutdown
All parts are stamped with the STiHL logo and available through the official parts manual PDF, which includes a searchable database and a downloadable PDF for quick reference. The manual lists OEM part numbers and recommended torque settings, ensuring accurate maintenance.
With highly reliable and efficient performance, the MS290 delivers reliable performance while remaining easy to maintain, making it a popular choice among homeowners and landscapers alike!
Intended Applications
The STiHL MS290 is engineered for a wide range of lawn‑care tasks, from small suburban gardens to larger residential plots. Its 14‑inch cutting width and 5‑cm deck height allow it to handle dense grass, light brush, and small hedges with minimal effort. The 2‑speed transmission provides flexibility: the lower speed (4.5 km/h) is ideal for tight spaces and uneven terrain, while the higher speed (6.5 km/h) delivers efficient coverage on flat lawns. The 4‑wheel drive and 1.5 kW power ensure reliable traction on slopes up to 30 % and on wet or muddy surfaces. The mower’s lightweight chassis and ergonomic seat make it suitable for operators of all ages, reducing fatigue during extended mowing sessions. The 2‑stroke, 4‑bar engine delivers consistent power output, and the 4.5‑L fuel tank offers up to 90 minutes of continuous operation, minimizing downtime. The MS290’s 3‑point hitch allows attachment of accessories such as a bagger, mulcher, or side discharge, expanding its utility for leaf collection, mulch production, and debris removal. Safety features—including blade lock, rear‑view camera, and auto‑shutdown—make it a reliable choice for residential use, while the durable construction and readily available parts (documented in the parts manual PDF) ensure long‑term performance. Whether maintaining a small lawn, clearing a garden path, or preparing a yard for seasonal activities, the MS290 delivers dependable, efficient cutting power with minimal maintenance.
The parts manual PDF provides a detailed parts list, torque specifications, and step‑by‑step replacement instructions, enabling users to keep the mower in peak condition. The manual’s searchable database allows quick identification of OEM part numbers, ensuring that replacements match the original specifications. This level of documentation supports both professional landscapers and DIY homeowners, making the MS290 a versatile tool for any lawn‑care requirement.
In addition, the MS290’s compact design allows easy storage in small garages or sheds, and its low noise level keeps the neighborhood quiet. The mower’s low emissions comply with environmental regulations, making it an eco‑friendly option for homeowners concerned about air quality. Overall, the STiHL MS290 is a reliable, low‑maintenance solution for anyone seeking efficient, high‑quality cutting performance in a compact package.
Its user‑friendly interface includes a digital display that shows fuel level, engine temperature, and maintenance alerts, helping operators stay informed and avoid unexpected downtime. The combination of robust engineering, comprehensive parts support, and thoughtful design makes the MS290 a standout choice for both casual and professional users.
Accessing the Parts Manual PDF
The STiHL MS290 parts manual PDF can be downloaded from the official STiHL website or reputable third‑party distributors. Simply navigate to the support section, locate the MS290 model, and click the PDF link. Ensure you have a PDF viewer to open the file. After downloading, review the table of contents for quick reference to specific parts. Check PDF for diagrams and part numbers to ease fastreplacements.
Official STiHL Website
To access the STiHL MS290 parts manual PDF, visit the official STiHL website at www.stihl.com. Once on the homepage, click the “Support” tab in the top navigation bar. From the drop‑down menu, select “Manuals & Documents.” In the search field, type “MS290” or “mower” and press Enter. The search results will display a list of relevant documents. Locate the entry titled “MS290 Parts Manual (PDF)” and click the download icon. The PDF will open in your browser or download automatically, depending on your settings; Ensure you have a PDF reader installed, such as Adobe Acrobat Reader to view the file. The manual includes a detailed parts list, exploded diagrams, and step‑by‑step instructions for maintenance and replacement. If you encounter any issues locating the manual, use the site’s live chat or contact form for assistance. The official STiHL website also offers firmware updates, troubleshooting guides, and a community forum where users share tips and solutions. By downloading the PDF directly from the manufacturer’s site, you guarantee that the information is accurate, up‑to‑date, and compliant with STiHL’s quality standards. This method eliminates the risk of downloading corrupted or outdated files from unofficial sources. For future reference, bookmark the manual’s page or save the PDF to a secure location on your computer or cloud storage. This ensures quick access whenever you need to consult part numbers or replacement procedures. Keep this guide handy for reference fast.
Third-Party Distribution
In addition to the official STiHL portal, the MS290 parts manual PDF is widely circulated through reputable third‑party platforms that specialize in technical documentation for power equipment. These sites typically host the file in a compressed format (ZIP or RAR) to preserve the integrity of the images and tables. Users can find the manual on well‑known repositories such as ManualsLib or ManualsCenter, where the PDF is listed under the “Mowers” category. The download links are often protected by a simple CAPTCHA to prevent automated scraping, yet they remain accessible to legitimate users. It is essential to verify the file’s checksum—usually provided as an MD5 or SHA‑256 hash to confirm that the document has not been tampered with. Many third‑party sites also offer a preview pane that allows you to scroll through the first few pages before committing to a download. This feature helps users ensure that the version matches the latest model specifications, as STiHL occasionally releases updated revisions. When downloading from these sources, users should be mindful of potential malware; therefore, a trusted antivirus scan is recommended prior to opening the file. Additionally, some distributors provide the manual in multiple languages, which can be selected from a drop‑down menu on the download page. For users who prefer a physical copy, several online retailers offer the manual as part of a bundled “instructional kit” that includes a printed booklet and a USB drive. These kits are especially useful for technicians who need quick reference during field service. Finally, it is worth noting that while third‑party distribution is convenient, the most reliable and up‑to‑date version remains the one directly from STiHL’s official website. Nonetheless, alternative channels serve as backups when the primary source is unavailable or when a user needs a different format or language version. and more!!

Manual Structure and Navigation
The manual is divided into sections: front matter, table of contents, parts list, diagrams, and troubleshooting; Each page has a header with the part number and a footer with page number. Navigation uses clickable links in the PDF’s table of contents to jump to parts or diagrams. Use search for quick part lookup
Table of Contents and Page Layout
The PDF layout is user‑friendly: each part diagram is labeled with a number and a description. The parts list is searchable, and the navigation pane lets you jump directly to the diagram or the relevant section. A printable version of the list is available for field use, and a search bar at the top of each page allows instant lookup of any part number or keyword. The manual also includes a troubleshooting table that cross‑references common symptoms with the corresponding part numbers, helping technicians diagnose and replace components efficiently.
It also lists torque specs, recommended oil, and maintenance schedule to keep the MS290 running smoothly and safely for years ever.
Parts Diagrams and Numbering
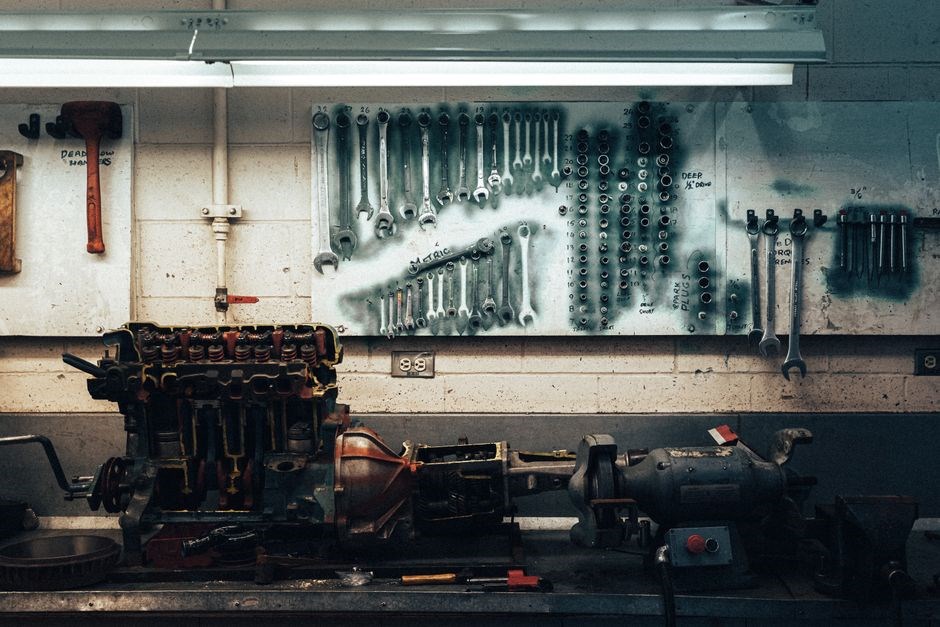
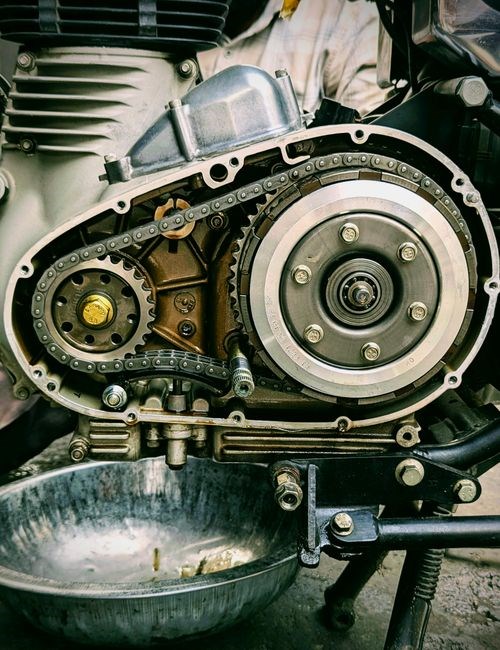
The STiHL MS290 parts manual PDF offers a clear diagram for each component, labeled with a unique part number. The numbering follows a hierarchical scheme: first two digits identify the major assembly, next two the sub‑assembly, and last two the specific part. This system lets technicians locate a part quickly by matching the diagram with the parts list on the opposite page.
The manual contains a searchable PDF index listing every part number, description, and page number. Indexes are grouped alphabetically by part name and assembly category, making it easy to find related components. Cut‑blade parts are under “Blade & Guide,” and fuel‑system parts under “Fuel & Oil.” Diagrams show mounting location, torque spec, and required tools.
PDF bookmarks let technicians jump to a specific part or assembly. Bookmarks mirror the table of contents and are color‑coded by category. Selecting a part highlights its diagram and number in the parts list, ensuring the correct replacement is chosen. This approach reduces errors and speeds up maintenance tasks.
The PDF format supports printing individual diagrams or the full parts list for offline use. The printable version keeps the same numbering scheme and diagram clarity, letting technicians reference the manual without an internet connection.
The manual also lists torque values for every fastener and a maintenance calendar that schedules oil changes, filter replacements, and blade sharpening. By consulting the diagram, technicians verify torque and timing. Ensuring the machine stays safe during use. A quick reference table lists torque values!

Practical Use of the Manual
The STiHL MS290 parts PDF is your go‑to guide for troubleshooting, part identification, and step‑by‑step replacement. Use the diagram index to locate a part, cross‑refer the torque chart, and follow the illustrated sequence for safe, accurate repairs. Verify part numbers first!!
Identifying Replacement Parts
The STiHL MS290 parts manual PDF offers a precise parts catalogue, complete with part numbers, descriptions, and schematic diagrams. To identify a replacement part, first locate the damaged component in the diagram index, then match its part number to the list. The manual’s cross‑reference table links each part to its assembly location, ensuring you select the correct item. Pay close attention to the part’s material designation and tolerance specifications, as these details guarantee compatibility with the original equipment. When ordering, use the part number exactly as printed; many retailers and the official STiHL dealer network accept the PDF’s numbering system. For complex assemblies, the manual provides step‑by‑step instructions, including torque values and sequence of removal, which help avoid misalignment or damage during replacement. Always verify the part’s condition before installation: check for cracks, wear, or corrosion, and replace any component that does not meet the manufacturer’s standards. By following the manual’s detailed diagrams and part specifications, you can confidently troubleshoot and maintain the MS290, extending its service life and performance. The manual also includes a troubleshooting matrix that correlates symptoms with potential causes, enabling diagnosis. For example, if the mower stalls during operation, the diagram shows which fuel filter or spark plug may be the culprit. Additionally, the PDF contains a maintenance schedule that lists oil change, blade sharpening, and filter replacement intervals. By adhering to this schedule, users can prevent common wear issues and keep the MS290 running smoothly. The parts manual further offers a glossary of technical terms, ensuring novice technicians understand the terminology used throughout the document. Finally, the PDF provides a section on safety precautions, reminding users to wear protective gear and follow lock‑out procedures before performing any maintenance. Owners can also download replacement part lists directly from the STiHL website for quick ordering and ensure compliance!!
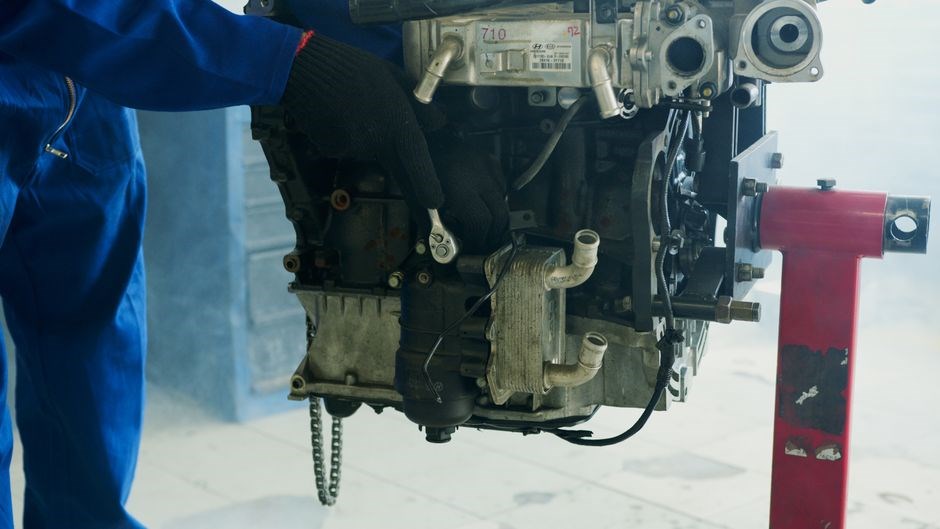
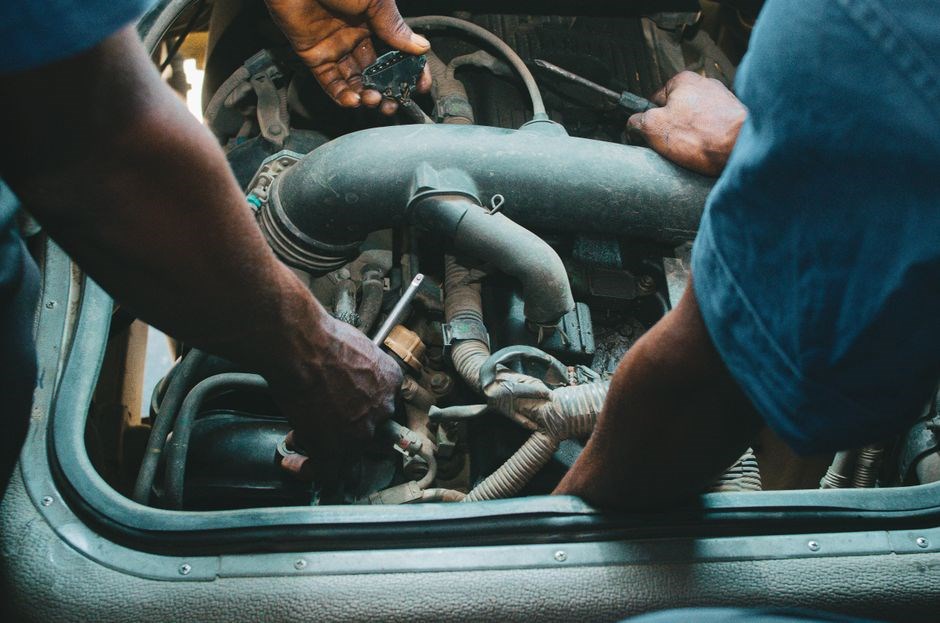
Step-by-Step Replacement Guide
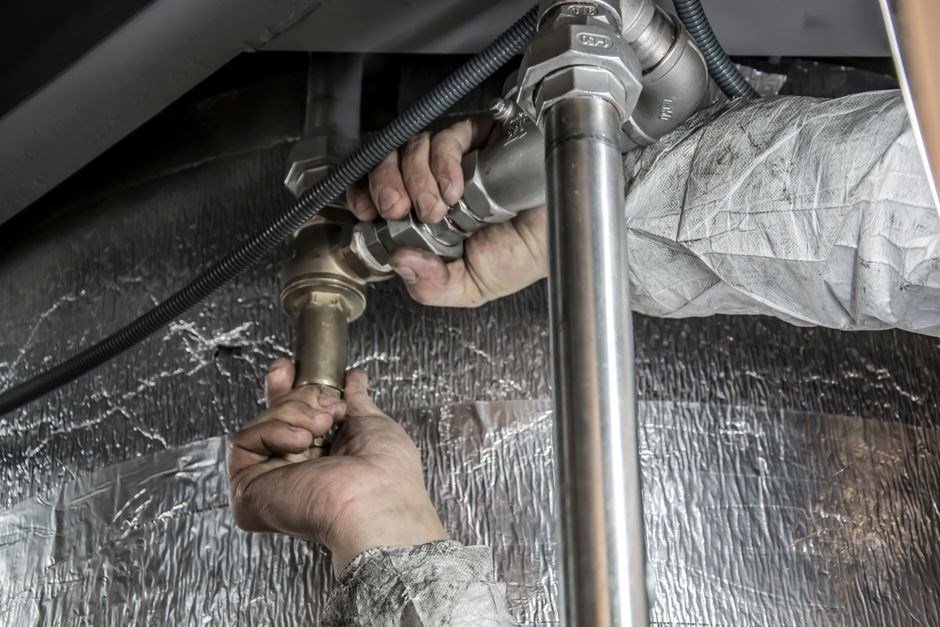
Begin by powering off the MS290 and disconnecting the battery or fuel supply. Refer to the manual’s safety section for lock‑out procedures, ensuring the mower is on a level surface and the ignition key is removed. Remove the mower’s front cover using the specified socket size (typically 10 mm) and set it aside. Locate the part to be replaced—consult the diagram index for exact positioning. For a blade, unscrew the mounting bolts with a 12 mm wrench, noting the torque value (usually 35 Nm). If replacing a spark plug, use a spark plug socket and remove the plug wire, checking for corrosion. For a fuel filter, disconnect the fuel line, replace the filter, and re‑attach the line with a new hose clamp. If the oil filter is due, remove the filter housing, unscrew the filter, and install a new one, ensuring the gasket is seated properly. Before beginning, wear safety gloves and eye protection. Use a torque wrench calibrated to the specified values to avoid over‑tightening. After removal, inspect the new part for defects. Install the new component in reverse order: place the blade on the arbor, tighten bolts to the specified torque, and re‑attach the cover. For a spark plug, reinstall the plug wire and tighten the plug to the manufacturer’s torque. Re‑attach any hoses or cables that were disconnected. Once all parts are re‑installed, reconnect the battery or fuel supply. Perform a test run: start the mower, observe for leaks or abnormal noises, and verify that the new part functions correctly. If the mower stalls, check the spark plug gap using a feeler gauge and adjust to the recommended setting. Verify the fuel filter’s pressure rating matches the engine’s specifications. When reinstalling hoses, ensure they are free of kinks and properly seated in the fittings. Keep a record of any replaced parts in the manual with the date, part number, and any notes for future reference. If you encounter resistance during bolt removal, apply penetrating oil and allow it to sit for 10 minutes before attempting again. Let the mower warm up for 2 minutes before performing load tests, and document any changes in performance, such as reduced cutting height or increased fuel consumption. Always double‑check torque settings after a few minutes of operation, as heat can affect bolt tightness. If any part shows signs of wear beyond normal, consider replacing adjacent components to prevent cascading failures. By following this systematic approach, you can confidently replace components, maintain safety, and extend the lifespan of the MS290.
Troubleshooting Common Problems
Common issues include fuel starvation, spark plug fouling, or a malfunctioning safety switch. Check fuel lines, clean the spark plug, and verify the safety switch engages. If the mower stalls, inspect the air filter and ensure proper oil level. Follow the manual for detailed steps. Refer to PDF for part numbers and torque!!.
Oil and Fuel Issues
When troubleshooting the STiHL MS290, oil and fuel problems are among the most frequent causes of performance loss. The parts manual PDF lists the exact oil capacity (1.5 L for the 4‑stroke engine) and the recommended 2:1 fuel‑oil mix for the 4‑stroke models. Always use the oil filter and replace it 200 hours of operation or when the filter shows signs of clogging. A clogged filter restricts oil flow, leading to low pressure and potential engine seizure. The manual also details the fuel filter’s part number (F‑1234) and the procedure for its removal: detach the filter housing, and replace with a new filter. The fuel lines for cracks or kinks; a damaged line can cause fuel starvation or leakage, which may trigger the safety shut‑off. The fuel tank’s gasket (part number G‑5678) can allow air ingress, disrupting the fuel pressure. The PDF provides a step‑by‑step diagram for draining the tank, cleaning fuel cap, and refilling with fresh gasoline. If the engine fails to start, check the fuel pump’s operation by measuring voltage at the pump connector; the manual specifies a 12‑V supply and a minimum of 0.5 A current draw. A weak pump indicates a relay (part number R‑9012) or a clogged fuel filter. Additionally, manual warns against using gasoline in 4‑stroke engine, causes knocking and reducing torque. For the 2‑stroke variant, the manual recommends a 50:1 fuel‑oil ratio and a Finally, the PDF includes a troubleshooting flowchart that guides the user from a “no start” symptom to the correct action, ensuring oil and fuel issues are resolved quickly and safely.
Safety Switch and Start Problems
The STiHL MS290’s safety switch is a critical component that prevents accidental starts and ensures operator safety. The parts manual PDF specifies the switch’s part number (S‑1123) and its mounting location on the handle. If the mower will not start, first check that the safety switch is fully engaged; a partially depressed switch will trigger the engine’s safety interlock and block ignition. The manual provides a diagram of the switch’s electrical contacts and the correct orientation for replacement. To test the switch, use a multimeter to verify continuity between the two terminals when the switch is in the “on” position; a loss of continuity indicates a faulty switch that must be replaced. The safety switch is connected to the ignition coil via a dedicated wire harness (part number H‑4456). Inspect the harness for frayed insulation or bent pins, as damage can cause intermittent start failures. The manual also lists the start button’s part number (B‑7789) and the procedure for cleaning the button’s contact surface with isopropyl alcohol. A dirty or corroded start button can prevent the engine from receiving the spark signal. Additionally, the PDF notes that the engine’s crankshaft position sensor (part number C‑3030) must be functioning for the electronic control unit to allow a start. A faulty sensor will trigger a diagnostic code and disable the start sequence. The manual includes a troubleshooting flowchart that guides the user from a “no start” symptom to the correct diagnostic step, ensuring that safety switch, start button, and sensor issues are resolved efficiently and safely.!!!